Find and install Skills
Use Add Skills to browse collections or search individual Skills. Use Install from Git or Import local folder in the page header for your own sources. Check the purpose, author, and source before installation.
Browse collections and search online
Add Skills initially shows the website's collections. Scroll to load more. Open a collection to inspect its Skills, then click Choose Skills. See Install collections for the full flow.
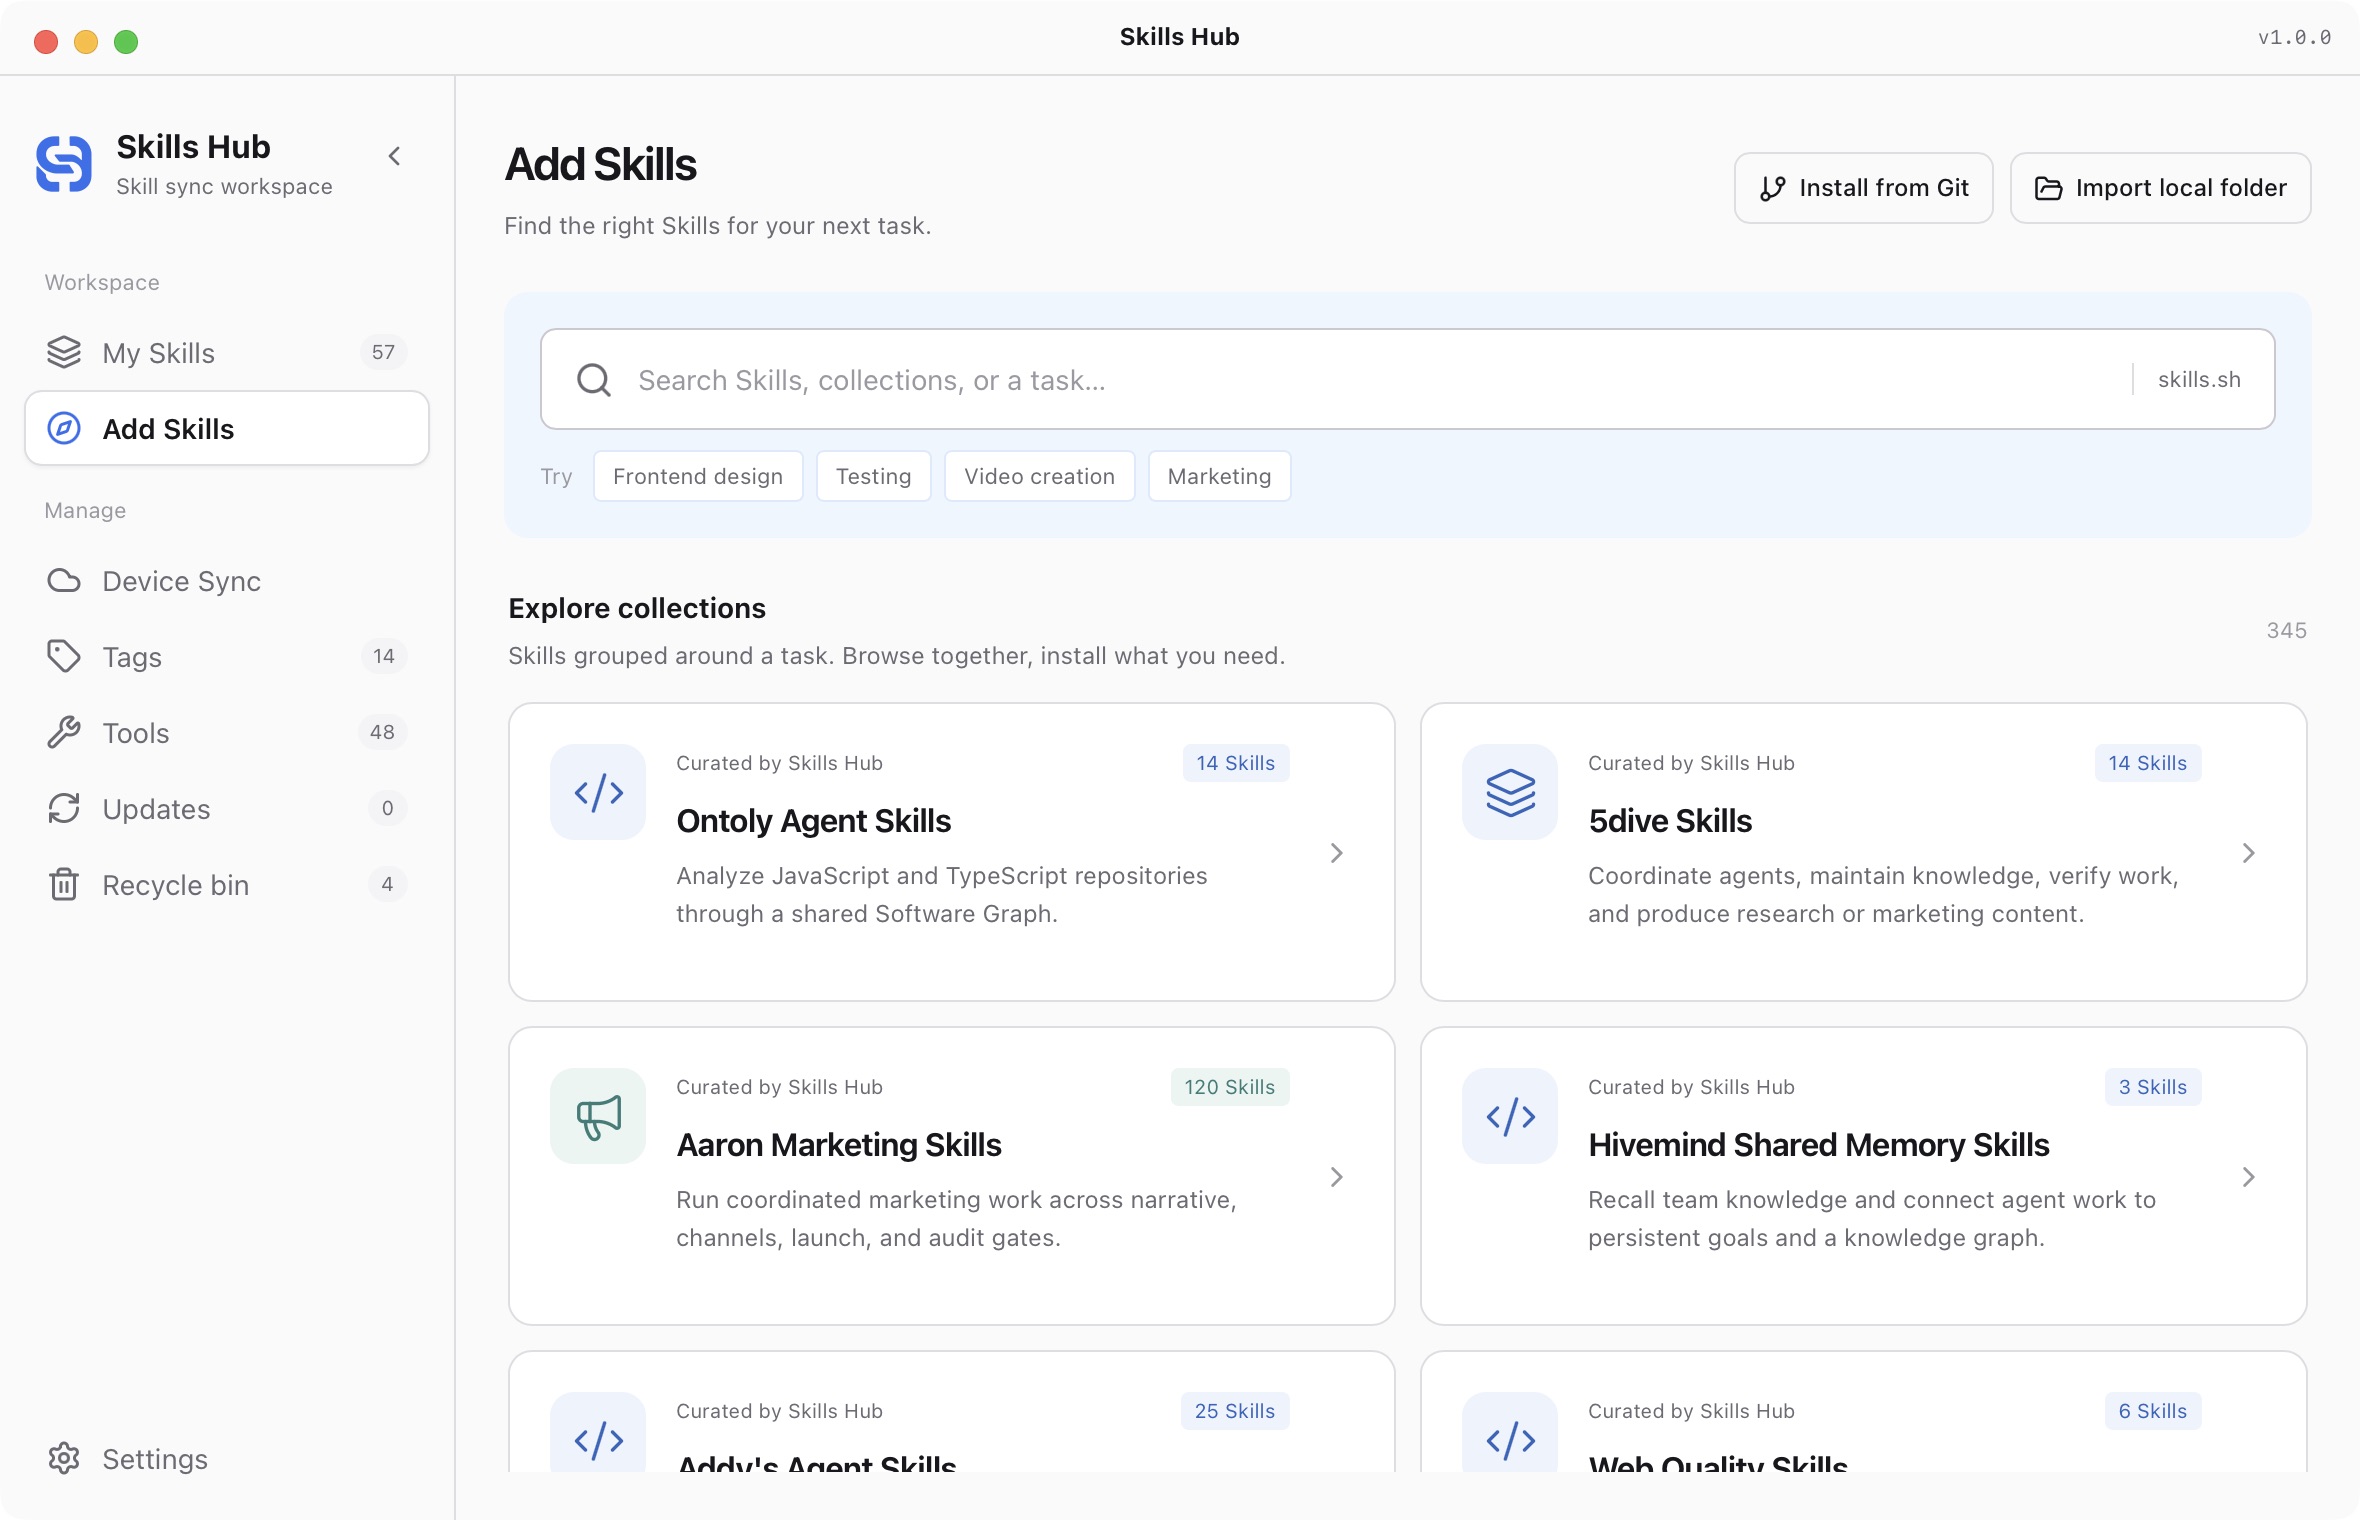
English interface (v1.0.0).
To find an individual Skill:
- Enter at least two characters in Add Skills.
- Review matching collections and individual Skills on the same page.
- Check a Skill's source, then click its install button.
- Wait for source detection, then review the entries and installation settings.
Collection search matches titles, descriptions, categories, tags, and authors, not the contents of individual Skills. Individual Skill search uses skills.sh. Installation counts are not security reviews. For connection failures, check network settings.
Install from Git
- Click Install from Git.
- Enter a repository URL or a supported repository directory URL.
- Click Continue and wait for detection of directories containing
SKILL.md. - In Select Skills, select the entries you need, then click Next.
- In Installation settings, review tags, tools, and scope, then confirm installation.
Even one detected Skill requires confirmation. Detection does not install it automatically. Clicking Next to open installation settings only changes the step.
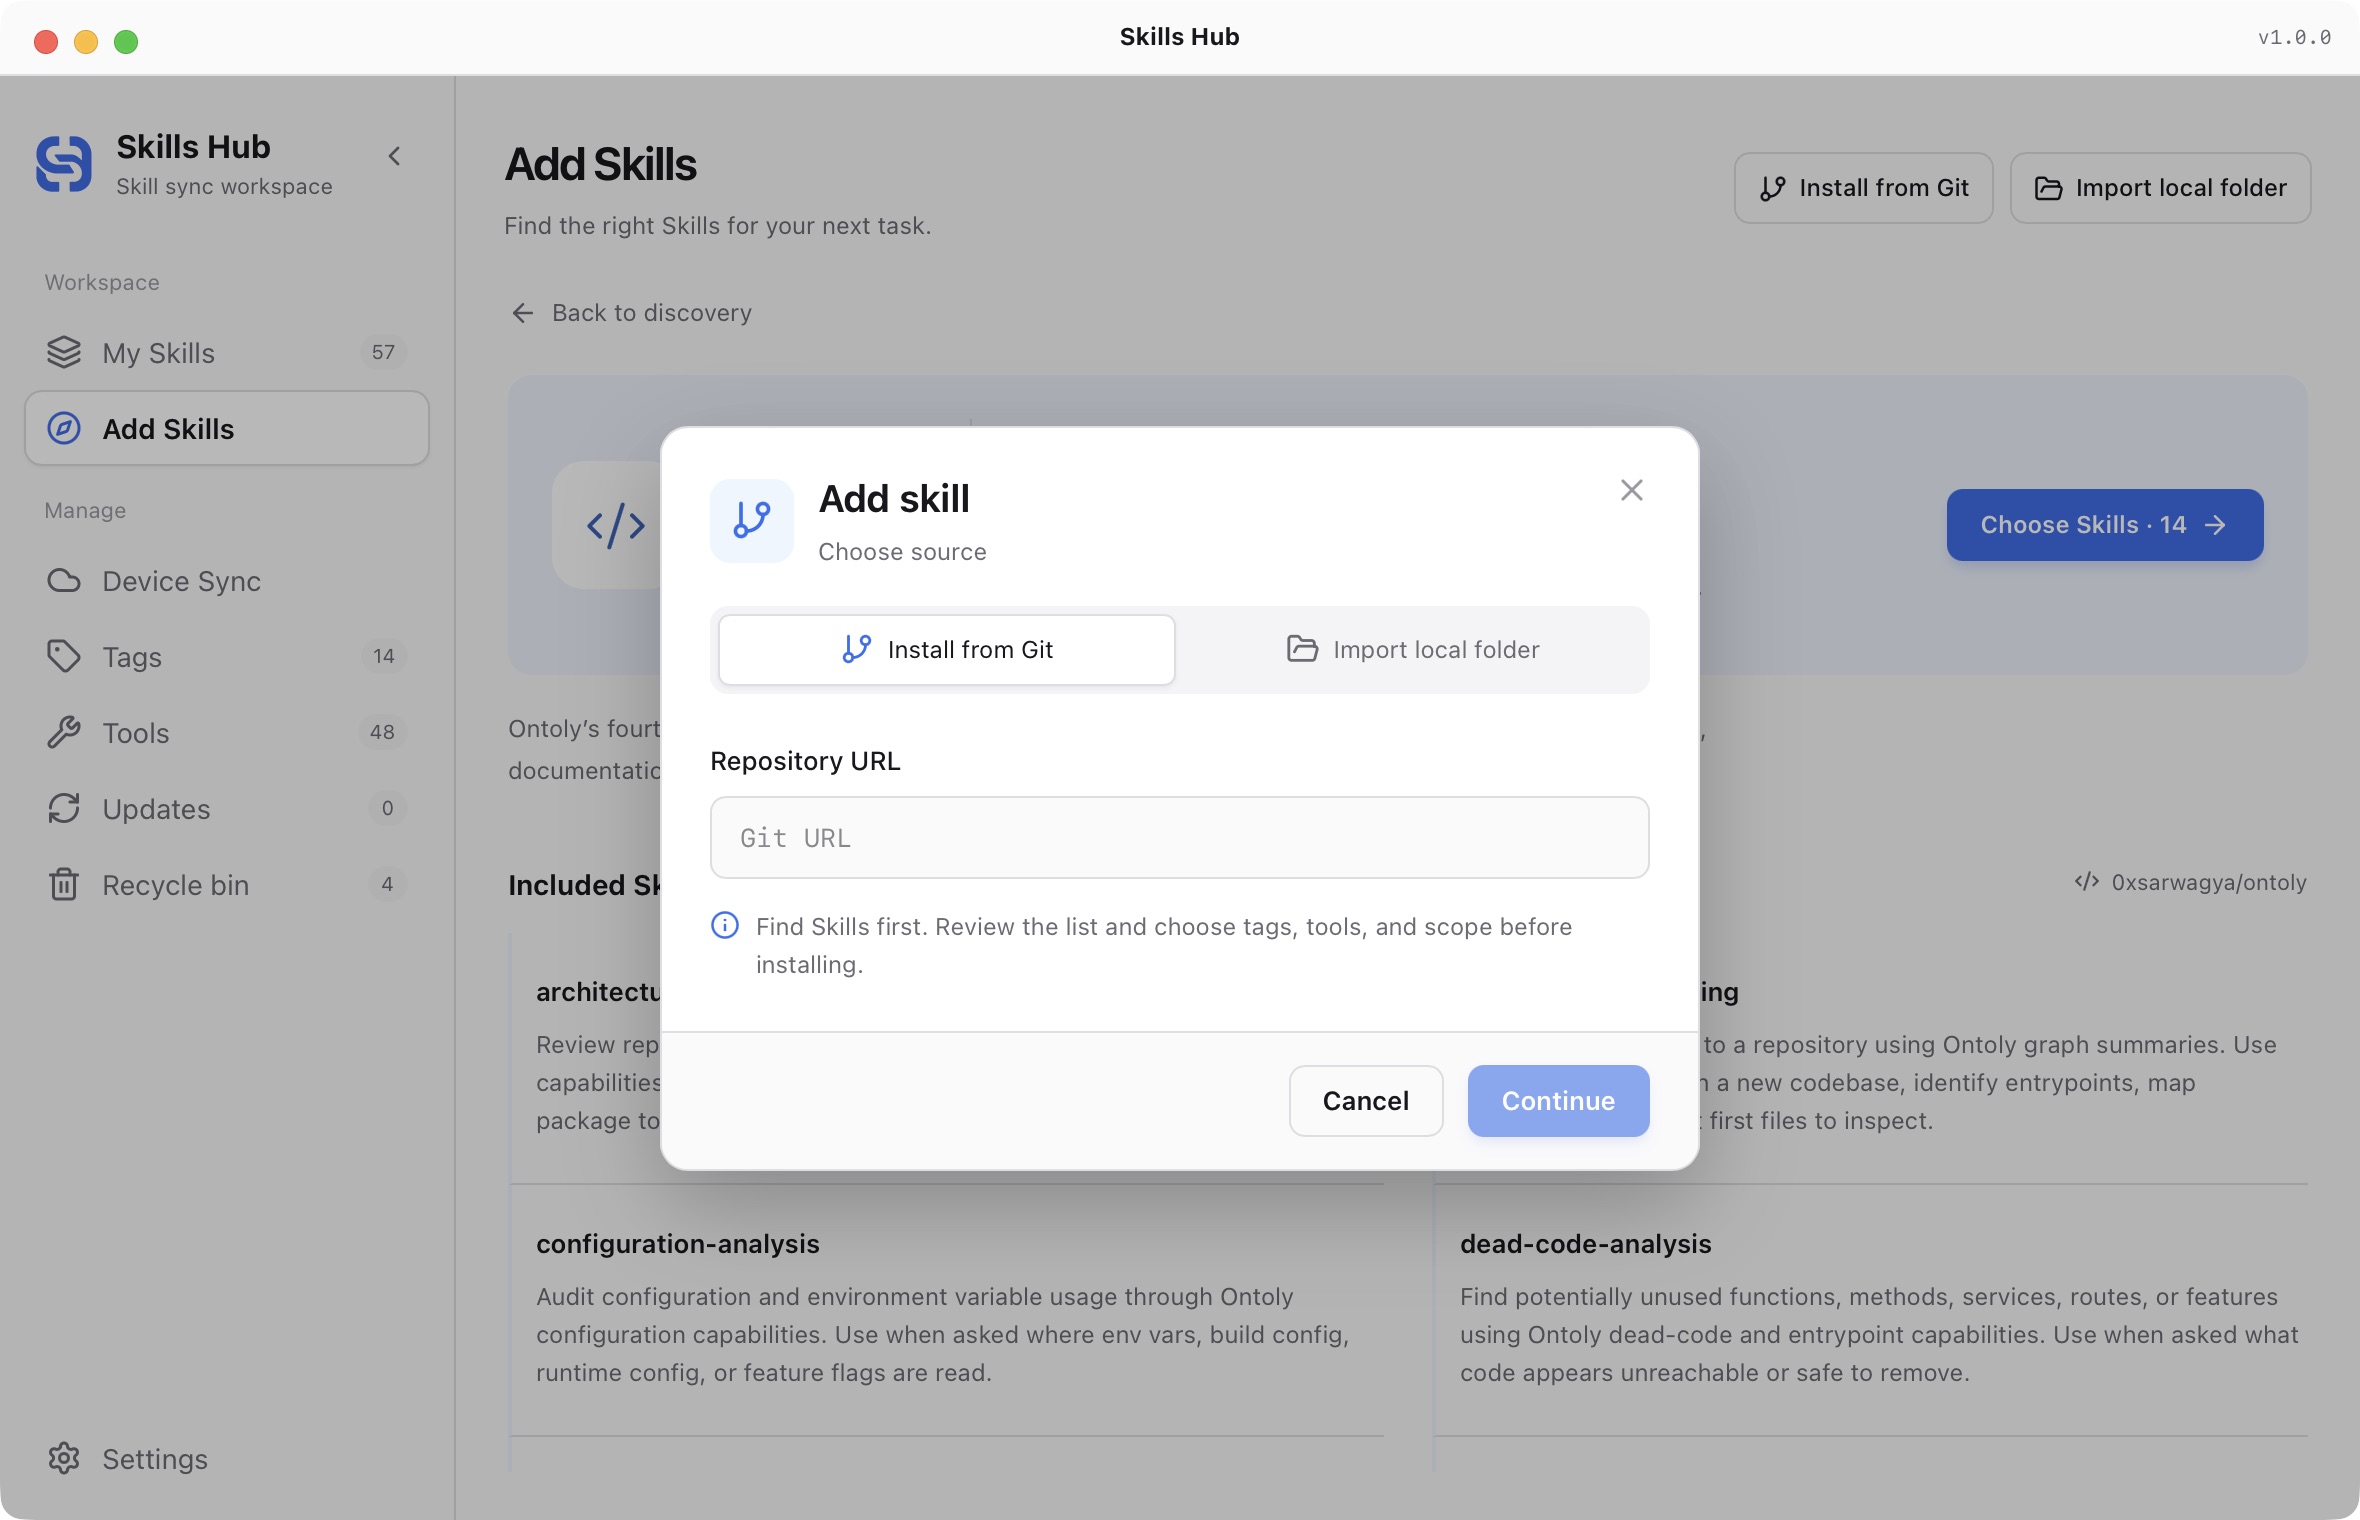
English interface (v1.0.0).
The app supports common root-level layouts and nested Skills under skills/. It does not scan files at arbitrary depths. If nothing appears, check for SKILL.md and try a more specific directory URL.
When you install the same repository again, the picker distinguishes new entries, update checks, and conflicts. Unchanged same-source content is skipped. Safe updates preserve existing settings. Name conflicts cannot be selected and do not block other valid entries.
Install from a local folder
- Click Import local folder.
- Choose a folder containing one or more Skills.
- Click Continue to detect its contents.
- In Select Skills, review and select valid entries. Invalid entries cannot be selected.
- Click Next, review installation settings, then confirm installation.
Installing from an ordinary folder differs from adopting Skills already in a tool directory. For existing tool directories, use the import flow. Keep the original local source accessible for later updates.
Choose tags, scope, and tools
Tags organize the library and can be changed later. Global scope uses the tool's user-level directory. Project scope needs a project selection and support from both the tool and operating system.
You can add a Skill to the library without distributing it immediately. Review shared-directory notices and confirm linked tool selections when prompted. Some tools read the same Skills directory, so one change can affect several tools.
Going back before installation preserves your selection and settings. For Git and local candidates, only visible, selected, valid entries are submitted when search is active. Check the selected count on the settings step. Collections differ: search does not exclude selected hidden entries. See Install collections.
Check the result
Open My Skills and inspect the record and target status. If library installation succeeded but one tool failed, repair that target first. For a same-name conflict, compare sources and content before taking action. Do not delete the existing directory without reviewing it.
Collection installation keeps existing same-source content. It can distribute those entries to the selected tools, but does not update them through the collection flow.
- Quick start
- Download and install
- Library and sync concepts
- Find and install Skills
- Install collections
- Import existing Skills
- Organize your library
- Distribute to AI tools
- Manage tools
- Supported tools and directories
- Update Skills
- Sync across devices
- Delete and restore
- Settings and troubleshooting
- Manage with AI
- CLI reference